
Edinburgh Wall Art
Select a picture for further information
Select a picture for further information

The Mighty Forth Bridge
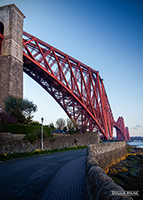
The Forth Bridge from North Queensferry
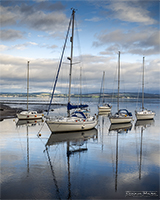
Dinghies at Cramond, Edinburgh
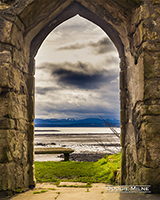
Doorway to the Forth
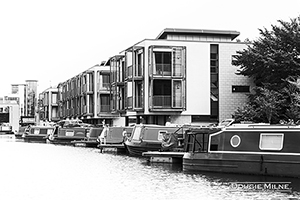
Barges Moored at Lochrin Basin on the Union Canal

The Nasmyth Bridge and River Almond
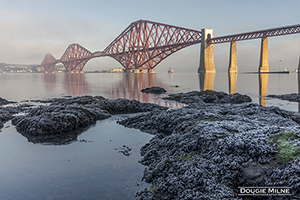
The Forth Bridge in Winter
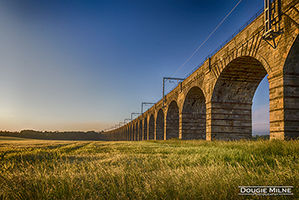
The Almond Valley Viaduct
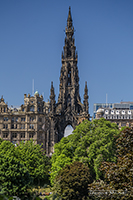
The Scott Monument
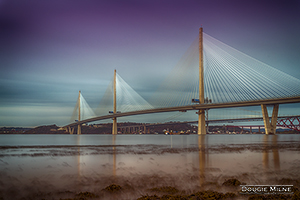
Queensferry Crossing

River Almond and the Nasmyth Bridge

Red Moss Sunset
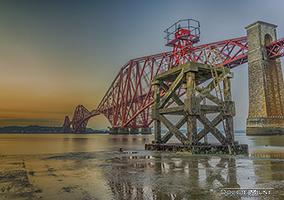
Hawes Pier and the Forth Bridge
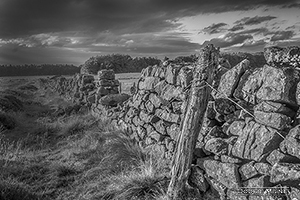
Pentlands Wall
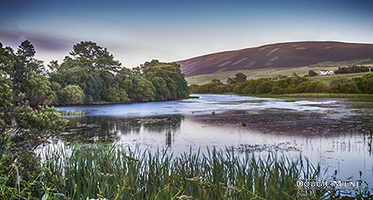
Threipmuir Reservoir
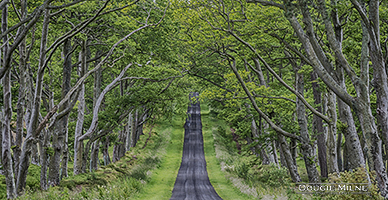
Approach to Bavelaw Castle

The Forth Bridge
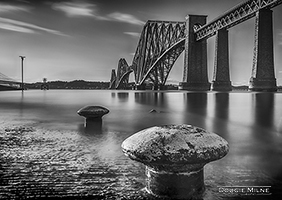
The Forth Bridge
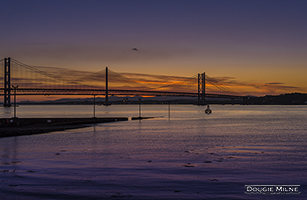
Forth Road Bridges

Cramond